Tag: how to

  • The Best beginner Warhammer Miniature Painting techniques

    The Best beginner Warhammer Miniature Painting techniques

    Painting miniatures it’s a long process. So here I have compiled a list of simple miniature painting techniques. These are perfect for beginners and can speed your painting up. First, let’s break them down:

    • Fully assemble your miniatures before painting
    • Use black primer
    • Drybrushing
    • Washes
    • Slapchop
    • Constrast paints

    These are simple but effective miniature painting techniques. They’ll help you get that Warhammer army fully painted in no time.

    Assemble everything all at once

    Fully built Star Wars Shatterpoint

    You heard it here first. No sub-assembly, here’s why. When I started I thought to myself.

    “Mmm better paint all the parts separately and then stick them back together. This way I’ll be able to reach all the nooks and crannies in the miniature. It’ll look amazing.”

    But in reality there were lots of drawbacks from that approach. While it is true that you can reach all the spots in the miniature, it doesn’t necessarily mean that you have to (see next section!). So, unless you are going to Golden Demon, I wouldn’t worry about it.

    The main drawback with sub-assembly is the extra time it takes. This is why I tend to almost never do it. More time to prime every single bit, more time painting unnecessary spots, more time making sure I glue things correctly.

    Other disadvantages, in my opinion, are:

    • Managing all the bit separately on the hobby desk is a pain.
    • You need to make sure that your paint job matches between parts! I cannot understate the importance of this! Too many times I painted 2 parts in different colours without realising that they were part of the same armour/cloth/skin etc.
    • The highlights you paint have to match with the position of the part when fully assembled. If the highlights are off because the arm is glued in a different orientation you’ll be kicking yourself in the butt.
    • It’s harder to be consistent with the paint job when you have to jump between bits.

    So yea, just build the whole mini in one go plz. You can thank me later.

    Prime it Black

    Black primer for the win

    This is the advice I was given when I started, and I’m going to give it to you now.

    If you assemble your miniatures fully before painting (see previous section), there will be parts that are harder to reach with your brush. This means that the light will also have a harder time reaching those spots. In that case, just leave it black!

    On the other hand, if your miniature was primed in white, you’ll have a hard time making sure all the spots are covered correctly and no white is left behind.

    So leave it black, it’ll add contrast to the paint job and look great anyway!

    If you want the advantage of white primer to see all the details but the benefits of a black primer, go read the Zenithal Priming section down below.

    Drybrushing

    Drybrushing tools

    Drybrushing is a great technique that, honestly, I need to get better at.

    What you’ll need:

    • A large tip brush, or make-up brush
    • A wooden slat to remove the paint from your brush
    • Any paint

    Drybrushing works by catching the raised edges of a miniature. You achieve this while moving your brush up and down and around the mini.

    How to do dry brushing

    • Lightly dab your brush in one drop of water, just enough so that it is lightly damp. This makes sure your paint doesn’t dry up and turns chalky.
    • Dab the brush into the paint of your choice.
    • Remove almost all the paint on a dry palette. This can be a piece of wood or similar. Kitchen roll, although it works, could dry your brush up too much.
    • Now start brushing over your miniature in and up and down motion, so that the edges are hit with the bristles and paint is deposited. You’ll see that the raised edges now have colour.
    • You have a few options here in term of brush strokes. You can go up and down, or just down if want to imitate the sun hitting the miniature from above. I personally like to do a rotating motion to hit all edges from all angles. It’s not realistic, but I like the style.

    Slapchop

    The Hobbits painted with Slapchop and some more models ready for Contrast paints

    So slapchop is a pretty nifty way of painting your miniature. It removes the complication of placing highlights manually by combining drybrushing and contrast paints.

    What you need

    • Black primer (see section above)
    • All the things you need for drybrushing
    • Grey paint and white paint instead of any paint
    • Contrast Paints or Speed Paints

    How to do Slapchop

    • Prime black, so that you have a nice base to start your drybrushing.
    • Drybrush grey
    • Drybrush white
    • Apply contrast paints to the various parts of the model. You are essentially colouring within the lines.

    The gradient that you create with your grey and white drybrush mimics the light hitting the miniature. You create a gradient from the darkest recesses to the brightest spots.

    When you add Constrast Paints (or Speed Paints, which I prefer because they are cheaper!), you tint your gradient so that it looks like you spent lots of time on the miniature. While in reality you haven’t.. and it looks great!

    The Honest Wargamer is the man who started this, definitely worth a watch

    As an extra tip: feel free to experiment with different colours instead of grey/white. I tried with with brown/red and it certainly looks cool! Mini painting should be all about experimentation, so don’t be afraid to go out and try things!

    There is also another technique called Double Slapchop, but I haven’t tried it yet, so can’t vouch for it. It essentially adds a second drybrush and contrast paints pass after the first. Let me know how it goes!

    Slapchop Variant

    My personal spin for Slapchop: I really like to combine zenithal priming and follow that up with drybrushing with a lighter colour. The shadows from the zenithal make the highlight from drybrushing looking more natural. Thank me later.

    Washes

    Citadel Washes

    Now I love me some washes! These are specialised paints and their consistency is more liquid than regular paints. Games Workshop calls them Shade paints but they are essentially the same.

    Given their consistency they better run into the recesses of a miniature, adding shadows.

    What you need

    • A brush, preferably synthetic. Washes will destroy your brush as the paints run into the ferrule and split the hairs. Keep your fancy brushes safe!
    • Any GW Shade paints, or Army Painter Vallejo washes or any equivalent from other brands.

    How to wash

    • Dab brush into the wash, do not overload it. There should be no drop forming on the tip of the brush
    • Apply the wash. Be conservative, and all-around wash is fine, but remove any excess wash that’s pooling. It’ll ruin the paint job underneath!

    A couple of caveats though. Make sure the wash doesn’t pool. If you see beads of washes pooling on your miniatures, make sure to remove the excess. If you don’t, it’ll leave what we call “coffee stains” on it and it’ll ruin the paint job underneath!

    Also remember that the wash will tint the colour underneath, so be careful, especially when applying it over light colours. Many times I messed up my yellows because I wasn’t careful enough! Just make sure you apply the washes more selectively instead of an all over approach.

    Zenithal Priming

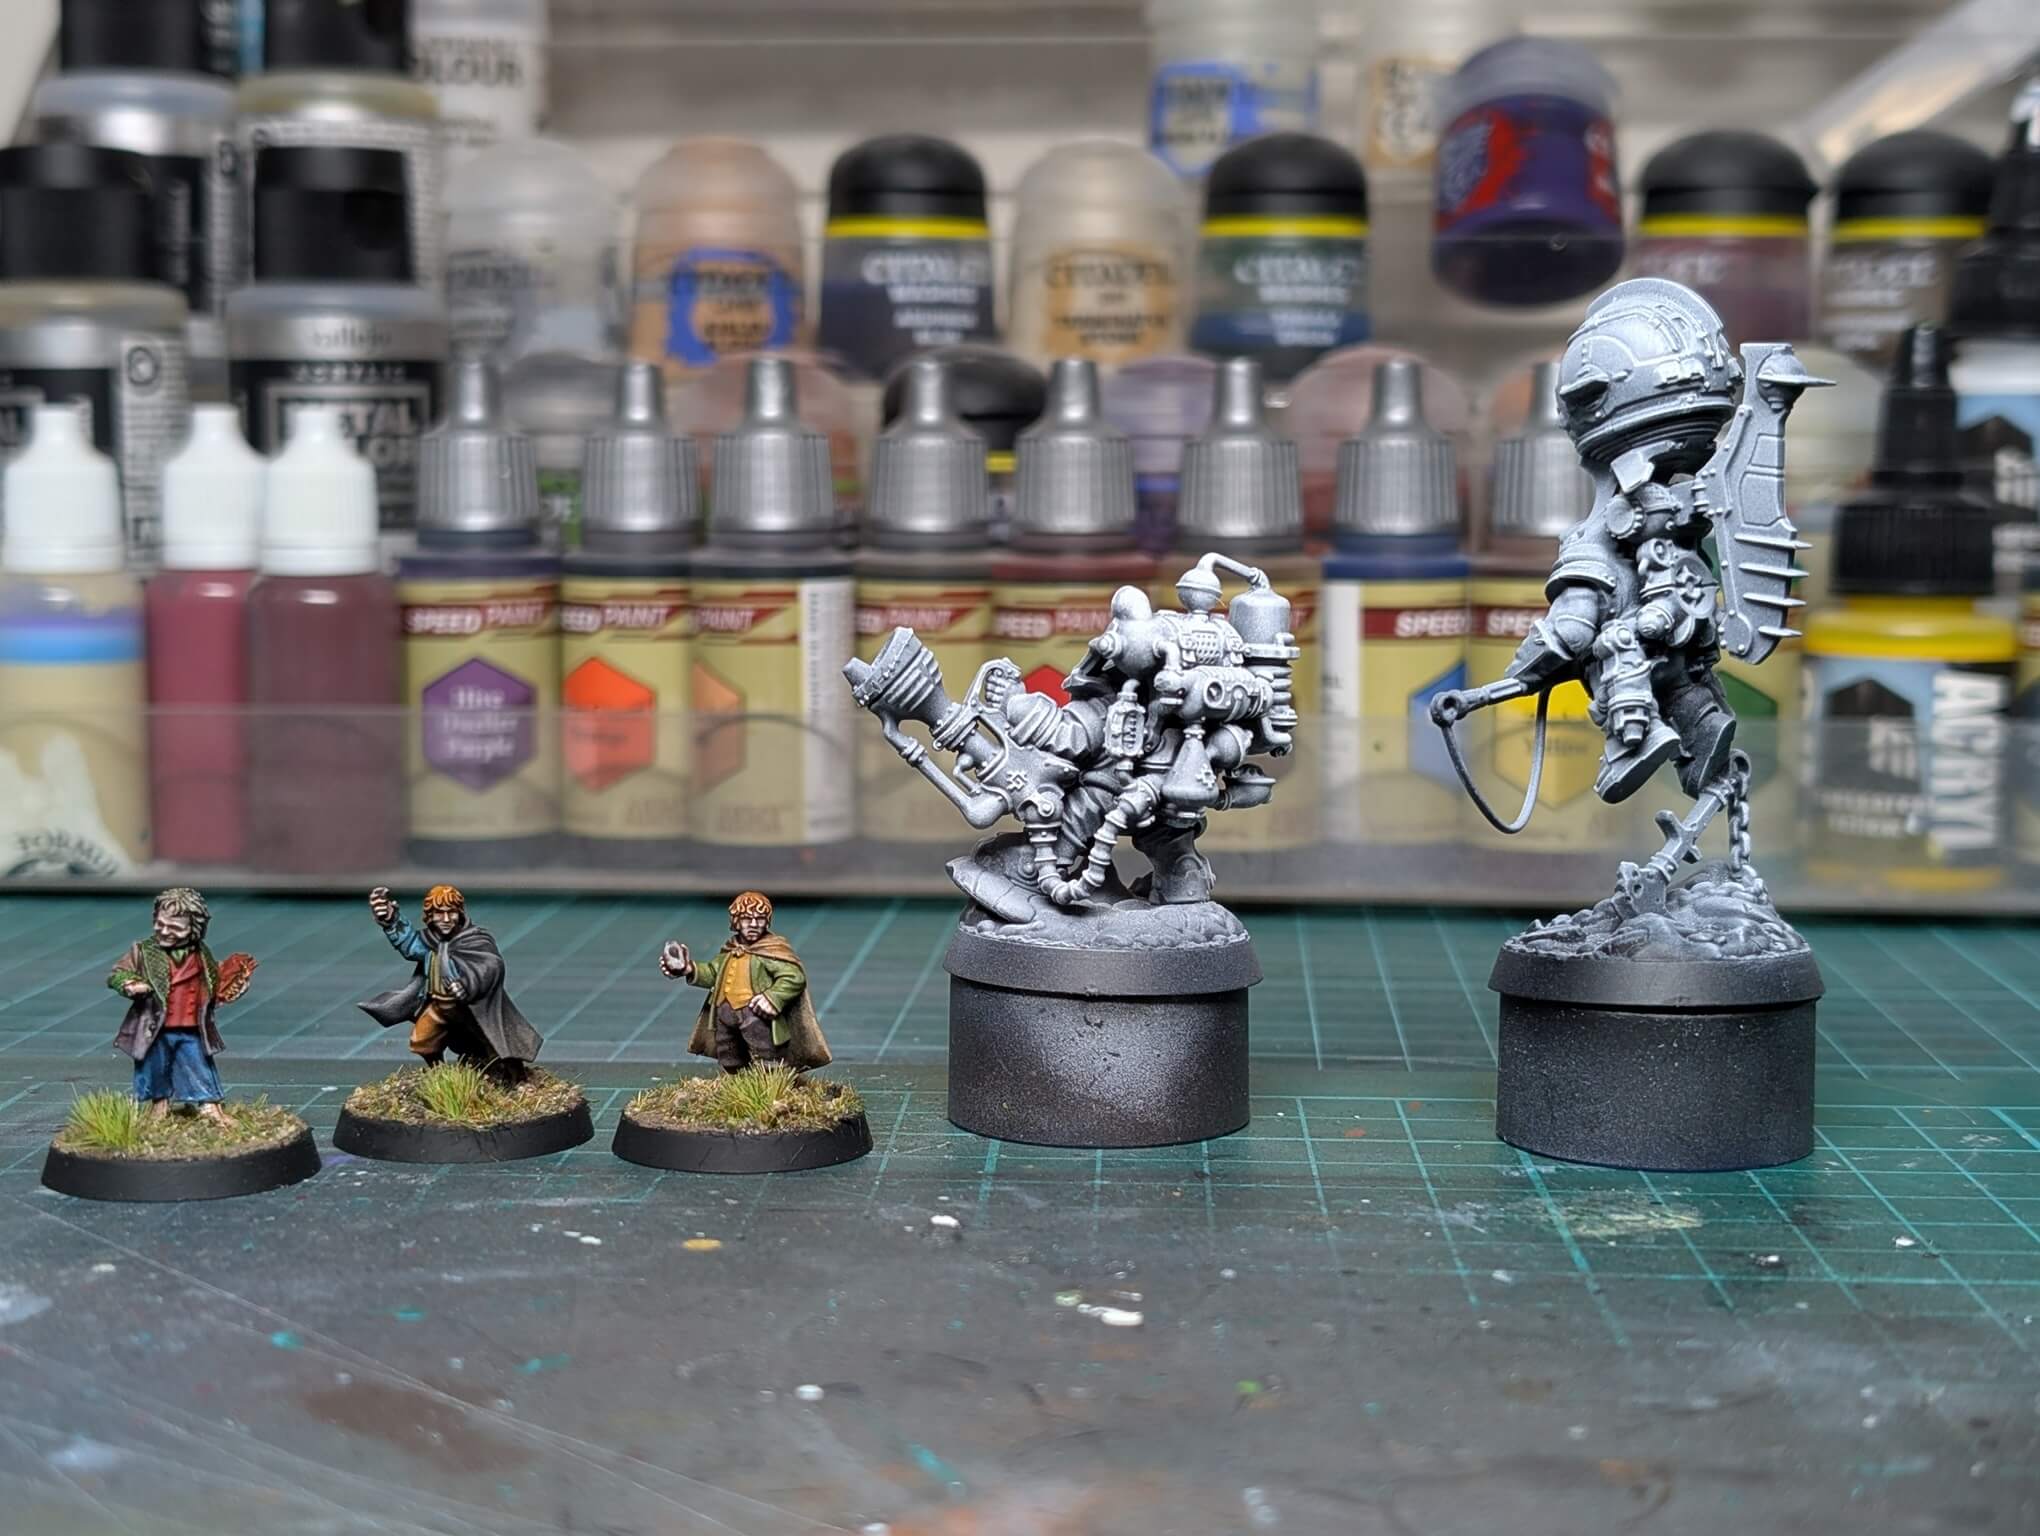
    Light zenithal for the 2 miniatures on the left, heavy white zenithal for the ones on the right

    This one is a great method because it gives you a starting point very quickly when it comes to placing highlights on your miniatures.

    You can do zenithal highlight with an airbrush but I’ll assume that you are just starting.

    What you need

    • White (or other off white colour) spray can
    • Black primer spray can

    This method consists in initially priming your miniatures black.

    Then spray them with white from above. You can hold the spray can at 45 degrees while doing so for a smoother finish. By dusting the miniature from above, it’ll simulate the sun being at the zenith (hence the name) and it will show you where to place your highlights.

    You can achieve the same with an airbrush. However I would recommend that for a beginner. Airbrushing is a skill in and of itself. While I do encourage others to get an airbrush, I wouldn’t recommend it to someone who’s just started.

    Contrast paint or Speed paint

    Army paint Speed Paints are great

    The general consensus in the Warhammer and miniature painting hobby community is that Contrast Paints and Speed Paints are suitable for beginners. I personally do not fully agree with the statement. However, I can see why they would be recommended because the simplicity of application cannot be understated.

    So why do I say they are not suitable for beginners? Let’s unpack it. First let’s look at what you need and how they work.

    What you’ll need

    • White or off white primer
    • Brushes, do not use your nice ones! Just like washes, speed paints destroy your brush!
    • Any Contrast or speed paint equivalent

    How to use it

    • Prime your miniature
    • Apply paint wherever you want

    The light colour primer will act as the perfect base with your paints. Given their runny consistency, they’ll create shadows in the recesses and highlights on the edges. The white primer is key here, if you primed black, then your miniature will look like a colourless blob.

    So why is this “bad”? I wouldn’t say it’s bad per se. If you want to get 100 figures done quick, then it’s all good. But if you want to become a better painter, I think that contrast paints is the wrong way to go about it.

    First of all, it’s not as easy as “slap a layer of paint on, done”. You need to learn how to slap that paint in the first place. If you are too heavy handed, contrast paint will pool heavily on the miniature and it’ll look sloppy.

    The other reason I think it’s not as beginner friendly, is because it might keep you a beginner for longer! Speed/contrast paints could be considered “cheat codes”. As such, you might not learn as much by using them exclusively. What do I mean? There are a lot of things that you learn when painting with traditional methods, namely:

    • Brush control
    • How to thin your paint to the right consistency
    • Mix your paint
    • Placing highlights/shadows

    Which you don’t have to learn when using these paints.

    Don’t get me wrong, they are great! I recently incorporated them in my painting arsenal and they’ve sped me up considerably. I just would be cautious in considering them the “be all end all” of miniature painting. They are just another tool, and they should be treated as such.

    Beginner Miniature Painting Techniques Conclusions

    So there you have it, here are my beginner techniques that will speed up your painting while still getting great results!

    We’ve been gone through the following:

    • Paint fully built models
    • Paint them black
    • Use drybrushing
    • Use slapchop
    • Wash paints are your friend
    • Contrast paints are great

    Just remember that these are not mutually exclusive! I would strongly encourage you to mix and match as you go. You might find some cool combinations! Don’t forget to let me know how it goes in the comments!

  • Is Warhammer too hard to get into? Let’s find out

    We all know that Warhammer can be expensive. It takes a lot of time and money to buy, build and paint your armies. In this week’s post, I want to ask the question : is Warhammer too hard for a beginner. Is it too difficult to get into?

    Where do you start with Warhammer?

    Since I have recently become a dad I am questioning if Games Workshop’s practices are friendly for a kid. If I wasn’t in the Warhammer hobby already, could my daughter start playing?

    So let’s start from the beginning. Imagine this.

    You are walking by your local friendly game store and your kid asks you if you can go inside. Eventually the kid expresses interest in Warhammer. So you look at what the store has in stock. You want to understand what a starter product would be. You also want to know if it would be suitable for a kid.

    The Warhammer Starter Set problem

    I dug through Games Workshop’s web store to see what the starter products are. I actually found it pretty confusing myself.

    Apart from the fact that the website is quite difficult to navigate… Why are there three different starter sets for Warhammer 40,000 and Warhammer Age of Sigmar? Which one should I get?

    For instance, Age of Sigmar has an Introductory Starter Set, a Starter Set and then an Ultimate Starter Set.

    Now you tell me if this makes any sense from a new customers point of view. Which one is the starter set I should be getting?

    The Introductory one should provide a good introduction right? So why would  I get the slightly bigger Starter Set? Is that the normal one? What about the Ultimate Starter Set.. is that for experienced hobbies and I should not buy it? So many questions!

    I am an experienced Warhammer enthusiast. I know that the smallest set does not give a comprehensive introduction to the game. Whoever buys the introductory starter set will probably be disappointed when they get it up and running. But that is not something that a new player would be aware of!

    Spearhead and Combat Patrol

    On the other hand the Warhammer Age Of Sigmar Ultimate Starter Set is really the complete product as it contains two Spearhead forces to play with.

    In my opinion, this provides the best introductory experience by far and the closest replica to the full-blown Warhammer Age of Sigmar. It provides a complete flavour of what Warhammer is about.

    Both Spearhead mode for Age of Sigmar and Combat Patrol mode for Warhammer 40k are great moves from Games Workshop to attract new players. The fact that you only need one box to start is perfect in my opinion. And I hear that Spearhead games are great fun!

    However, the Ultimate Starter Set may look too expensive to buy outright if you have never been introduced to Warhammer before. Having to dish out 130 pounds for a box full of plastic toy soldiers is too much for a parent to buy on a whim, let alone a kid that has no income.

    I think the Warhammer Age Of Sigmar Ultimate Starter Set is a hard sell for a potential new player. Even if it is still cheaper than buying all of the items separately, I wouldn’t want to spend all that money.

    On the other hand, the Introductory Starter Set on the other hand is actually very bad value because it doesn’t provide the full experience like the Ultimate Starter Set does.

    Starting Warhammer too hard! What to do?

    In my opinion Games Workshop should get rid of the three starter sets boxes proposition.

    Instead, they should provide one single box that contains the full experience. And I mean the full experience. It should also contain dice (why on her earth aren’t there dice in the box), rulers, the whole shabang.

    Most of all it should be cheap. Ideally the box would be a loss leader. Good value for money so that it’s an easy sell  and it should provide the whole Warhammer experience. Basically make the Ultimate Starter Set but cheaper so that it becomes an insta-buy for people to buy on a whim.

    But what do you think? Do you like the 3 starter sets that Games Workshop currently offers? Are these Warhammer Starter Set well placed? Or what would you change? Let me know in the comments!

  • The ONE secret to paint more minis. How to keep your Warhammer motivation

    The ONE secret to paint more minis. How to keep your Warhammer motivation

    Painting Warhammer is a lot of work. Let’s face it: you have to build the thing, then paint the thing. And that can take a lot of time and energy. Sometimes I find this overwhelming. It’s really hard and it’s way easier to buy more minis. It’s easy for me to lose my Warhammer motivation and it’s difficult to find it again. I want to paint more minis, not buy more minis.

    Last week I really wanted to paint something. I had a free evening after work and my wife was looking after the baby. I had the time, I had the space. But I didn’t have the motivation to get started. After much tribulation, I cleared my desk. I set my paint station in order. That alone really made me want to put brush to hand and get painting!

    So what do I do when I lose my hobby mojo? In this article I’ll try to explain my method. You’ll be surprised how easy it is to implement! I call it the Paint The Boot method.

    Motivation is a lie

    The first thing to understand and keep in mind is that motivation is a trap. Motivation is a fickle lady. See, you can’t really rely on it when you need it, because it’s not always there.

    It’s an emotion that tends to always run away the moment you have time to hobby! It happens to me all the time. Picture this.

    It’s a Sunday afternoon, I’m free from chores and I can do whatever I want. Result? I just watch TV all afternoon. When evening comes around, I’m frustrated. I haven’t done anything meaningful with the time I was given. Yes, well said Gandalf. I was waiting for motivation to arrive and do some hobbying, but it never showed up.

    How to keep your Warhammer motivation up?

    Alarielle the everqueen box for the Sylvaneth faction in Warhammer Age of Sigmar
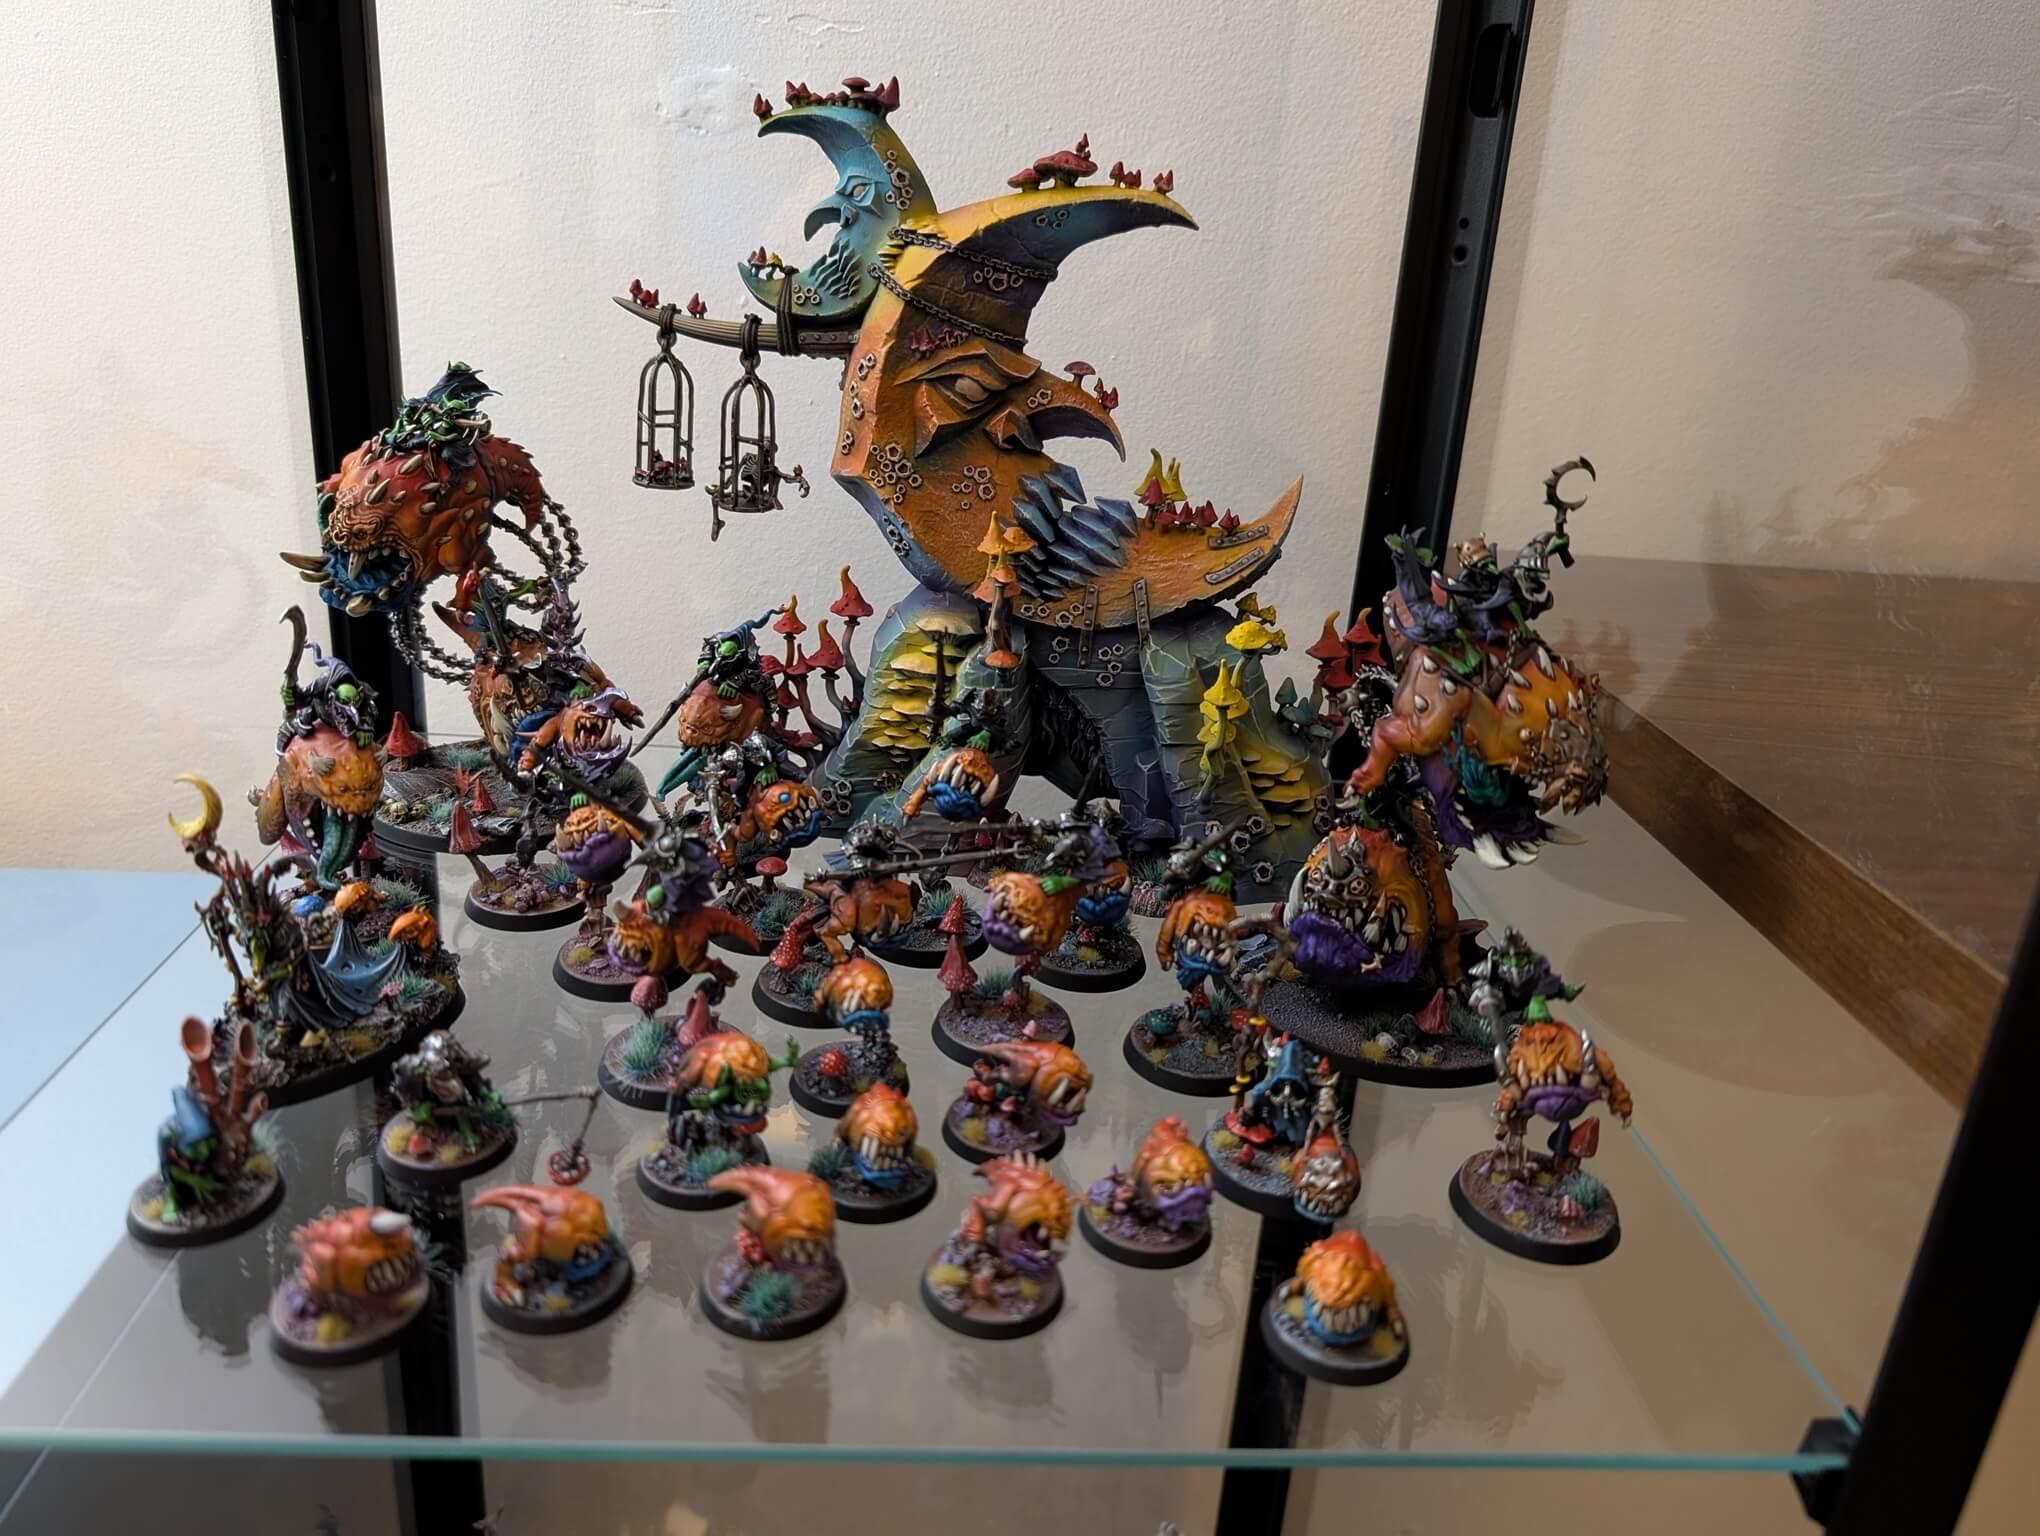
    Cheeky photo of my collection, too much Warhammer?

    The secret here is that you can create motivation yourself instead. No need to wait around – just go and do it. The phrase that I really like to remind myself is this one:

    Activation comes before motivation.

    That’s right, you have to kick yourself into gear first, then motivation will arrive!

    My trick for this is to limit my expectation to only do one very small thing. I call this the “Paint The Boot” method.

    The “Paint The Boot” method and how it can help you paint more minis

    The name of the method should already tell you all that you need to know. Just Paint The Boot!

    By setting my expectations low, I can just focus on one small thing which is really easy to achieve. This way I’ll get my dopamine hit as soon as I finish painting the thing I set to paint. This kickstarts the motivation I need to carry on!

    For me, this looks like painting one boot on one miniature. I sit myself to the desk, then force myself to paint this one boot. After that’s done, I want to go ahead and paint the other boot. Then I’ll finish the trousers. And so on…

    And just like that my 10 minutes painting session becomes a 2-hours one!

    Adapt the Paint the Boot method to your needs

    The heroes and hunters box for warhammer underworlds and other miniatures boxes in the background
    A little peak at (part of !) my backlog, will I paint all the minis?

    Now, the method states to Paint A Boot. However, you don’t have to be so restrictive with this method. You can adapt it to better suits your needs. In fact, you don’t even have to paint anything. As long as you sit down and do something with your hobby, you are winning already.

    Here are a few example variations of my method and how I like to change it up to keep me motivated and paint more minis:

    • Tidy up the hobby space. This is a great one if you are feel sluggish. It helps a lot when feeling burnt down as you don’t have to paint anything. Just make your hobby space nice and tidy.
    • Build a model. Again, this is a great one to get a break from painting. I really enjoy building minis because I don’t really need to think about it, I just do it.
    • Prime minis. I like this one because it really quick! if you have a spray can you can do it in no time. Personally I enjoy using my airbrush for this because, like building miniatures, you don’t really have to think. It’s just one colour!
    • Build list for your army. This one is awesome because it hypes me up to get a whole army ready to go.
    • Play a game. Nothing better than rolling dice and smash your friends with a fully painted collection. This will absolutely make you want to get to the painting desk!

    As you can see you can adapt and change it up as you like. Let me know how you adapt this method to your needs. Always happy to hear how others keep their Warhammer motivation.

    Bring back your Warhammer motivation and paint more minis!

    So remember, the key here is to nudge yourself to start. This will create a landslide motivation loop that will keep you going without even realising it! You’ll even finish your entire army this way.

    What about you? Do you agree with my Paint The Boot method? Maybe you have another way to overcome the lack of hobby motivation? Let me know in the comments! Until next time

    Like what I do? Sign up now to my newsletter to see what I get up to behind the scenes (promise I won’t spam!).