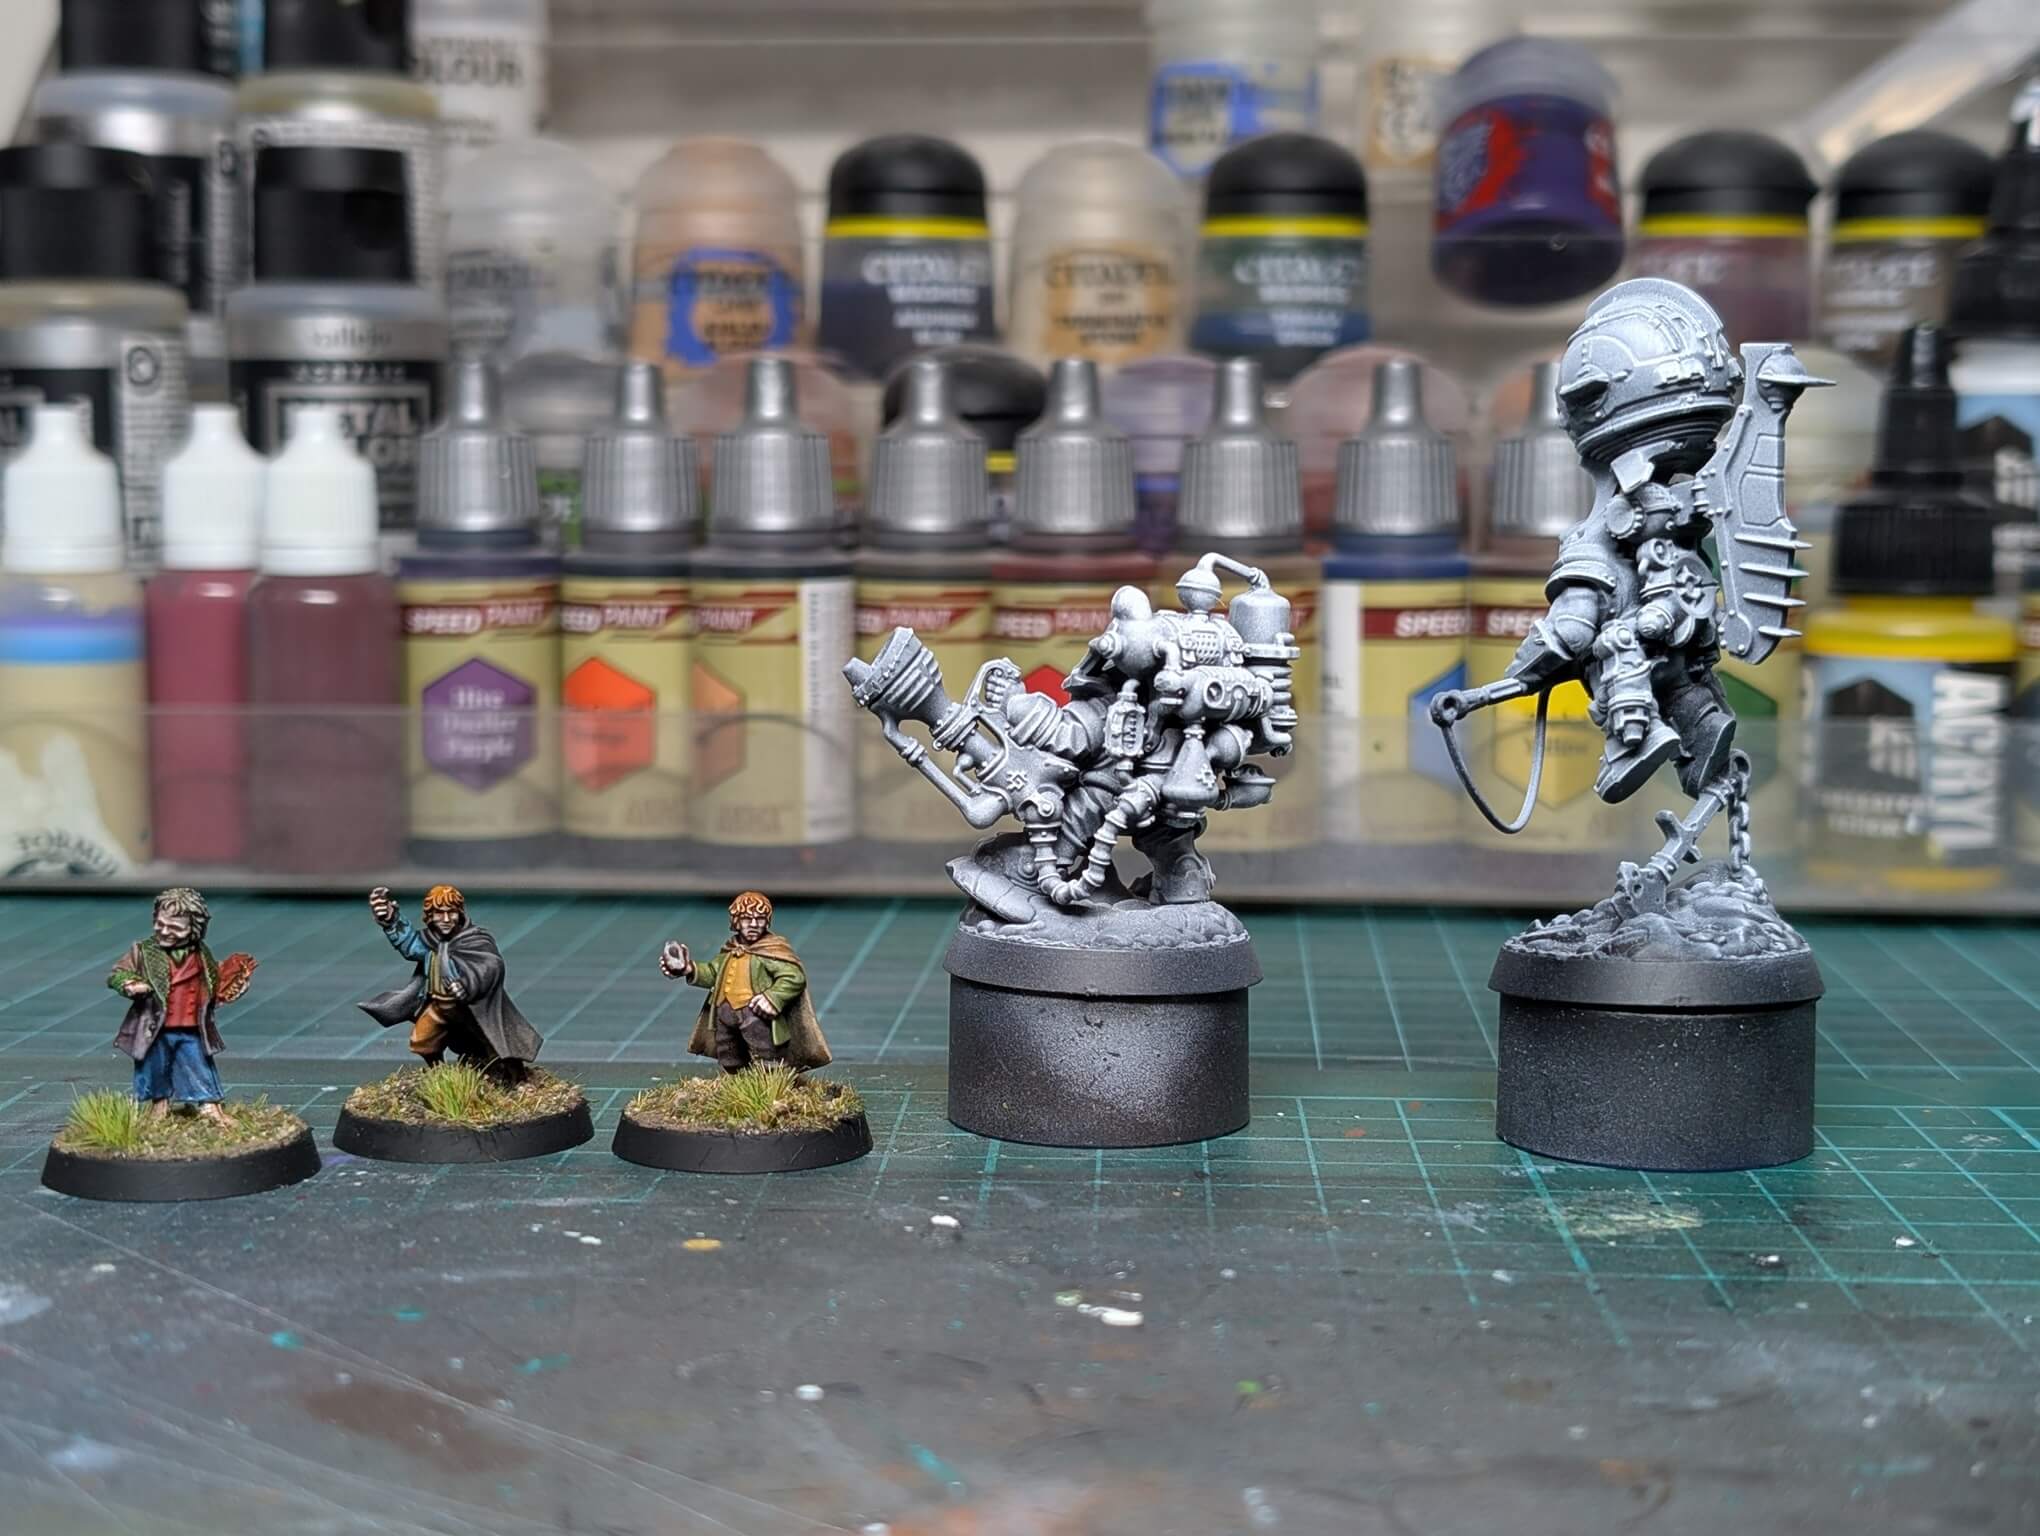
Painting miniatures it’s a long process. So here I have compiled a list of simple miniature painting techniques. These are perfect for beginners and can speed your painting up. First, let’s break them down:
- Fully assemble your miniatures before painting
- Use black primer
- Drybrushing
- Washes
- Slapchop
- Constrast paints
These are simple but effective miniature painting techniques. They’ll help you get that Warhammer army fully painted in no time.
Assemble everything all at once

You heard it here first. No sub-assembly, here’s why. When I started I thought to myself.
“Mmm better paint all the parts separately and then stick them back together. This way I’ll be able to reach all the nooks and crannies in the miniature. It’ll look amazing.”
But in reality there were lots of drawbacks from that approach. While it is true that you can reach all the spots in the miniature, it doesn’t necessarily mean that you have to (see next section!). So, unless you are going to Golden Demon, I wouldn’t worry about it.
The main drawback with sub-assembly is the extra time it takes. This is why I tend to almost never do it. More time to prime every single bit, more time painting unnecessary spots, more time making sure I glue things correctly.
Other disadvantages, in my opinion, are:
- Managing all the bit separately on the hobby desk is a pain.
- You need to make sure that your paint job matches between parts! I cannot understate the importance of this! Too many times I painted 2 parts in different colours without realising that they were part of the same armour/cloth/skin etc.
- The highlights you paint have to match with the position of the part when fully assembled. If the highlights are off because the arm is glued in a different orientation you’ll be kicking yourself in the butt.
- It’s harder to be consistent with the paint job when you have to jump between bits.
So yea, just build the whole mini in one go plz. You can thank me later.
Prime it Black

This is the advice I was given when I started, and I’m going to give it to you now.
If you assemble your miniatures fully before painting (see previous section), there will be parts that are harder to reach with your brush. This means that the light will also have a harder time reaching those spots. In that case, just leave it black!
On the other hand, if your miniature was primed in white, you’ll have a hard time making sure all the spots are covered correctly and no white is left behind.
So leave it black, it’ll add contrast to the paint job and look great anyway!
If you want the advantage of white primer to see all the details but the benefits of a black primer, go read the Zenithal Priming section down below.
Drybrushing

Drybrushing is a great technique that, honestly, I need to get better at.
What you’ll need:
- A large tip brush, or make-up brush
- A wooden slat to remove the paint from your brush
- Any paint
Drybrushing works by catching the raised edges of a miniature. You achieve this while moving your brush up and down and around the mini.
How to do dry brushing
- Lightly dab your brush in one drop of water, just enough so that it is lightly damp. This makes sure your paint doesn’t dry up and turns chalky.
- Dab the brush into the paint of your choice.
- Remove almost all the paint on a dry palette. This can be a piece of wood or similar. Kitchen roll, although it works, could dry your brush up too much.
- Now start brushing over your miniature in and up and down motion, so that the edges are hit with the bristles and paint is deposited. You’ll see that the raised edges now have colour.
- You have a few options here in term of brush strokes. You can go up and down, or just down if want to imitate the sun hitting the miniature from above. I personally like to do a rotating motion to hit all edges from all angles. It’s not realistic, but I like the style.
Slapchop

So slapchop is a pretty nifty way of painting your miniature. It removes the complication of placing highlights manually by combining drybrushing and contrast paints.
What you need
- Black primer (see section above)
- All the things you need for drybrushing
- Grey paint and white paint instead of any paint
- Contrast Paints or Speed Paints
How to do Slapchop
- Prime black, so that you have a nice base to start your drybrushing.
- Drybrush grey
- Drybrush white
- Apply contrast paints to the various parts of the model. You are essentially colouring within the lines.
The gradient that you create with your grey and white drybrush mimics the light hitting the miniature. You create a gradient from the darkest recesses to the brightest spots.
When you add Constrast Paints (or Speed Paints, which I prefer because they are cheaper!), you tint your gradient so that it looks like you spent lots of time on the miniature. While in reality you haven’t.. and it looks great!
As an extra tip: feel free to experiment with different colours instead of grey/white. I tried with with brown/red and it certainly looks cool! Mini painting should be all about experimentation, so don’t be afraid to go out and try things!
There is also another technique called Double Slapchop, but I haven’t tried it yet, so can’t vouch for it. It essentially adds a second drybrush and contrast paints pass after the first. Let me know how it goes!
Slapchop Variant
My personal spin for Slapchop: I really like to combine zenithal priming and follow that up with drybrushing with a lighter colour. The shadows from the zenithal make the highlight from drybrushing looking more natural. Thank me later.
Washes

Now I love me some washes! These are specialised paints and their consistency is more liquid than regular paints. Games Workshop calls them Shade paints but they are essentially the same.
Given their consistency they better run into the recesses of a miniature, adding shadows.
What you need
- A brush, preferably synthetic. Washes will destroy your brush as the paints run into the ferrule and split the hairs. Keep your fancy brushes safe!
- Any GW Shade paints, or Army Painter Vallejo washes or any equivalent from other brands.
How to wash
- Dab brush into the wash, do not overload it. There should be no drop forming on the tip of the brush
- Apply the wash. Be conservative, and all-around wash is fine, but remove any excess wash that’s pooling. It’ll ruin the paint job underneath!
A couple of caveats though. Make sure the wash doesn’t pool. If you see beads of washes pooling on your miniatures, make sure to remove the excess. If you don’t, it’ll leave what we call “coffee stains” on it and it’ll ruin the paint job underneath!
Also remember that the wash will tint the colour underneath, so be careful, especially when applying it over light colours. Many times I messed up my yellows because I wasn’t careful enough! Just make sure you apply the washes more selectively instead of an all over approach.
Zenithal Priming

This one is a great method because it gives you a starting point very quickly when it comes to placing highlights on your miniatures.
You can do zenithal highlight with an airbrush but I’ll assume that you are just starting.
What you need
- White (or other off white colour) spray can
- Black primer spray can
This method consists in initially priming your miniatures black.
Then spray them with white from above. You can hold the spray can at 45 degrees while doing so for a smoother finish. By dusting the miniature from above, it’ll simulate the sun being at the zenith (hence the name) and it will show you where to place your highlights.
You can achieve the same with an airbrush. However I would recommend that for a beginner. Airbrushing is a skill in and of itself. While I do encourage others to get an airbrush, I wouldn’t recommend it to someone who’s just started.
Contrast paint or Speed paint

The general consensus in the Warhammer and miniature painting hobby community is that Contrast Paints and Speed Paints are suitable for beginners. I personally do not fully agree with the statement. However, I can see why they would be recommended because the simplicity of application cannot be understated.
So why do I say they are not suitable for beginners? Let’s unpack it. First let’s look at what you need and how they work.
What you’ll need
- White or off white primer
- Brushes, do not use your nice ones! Just like washes, speed paints destroy your brush!
- Any Contrast or speed paint equivalent
How to use it
- Prime your miniature
- Apply paint wherever you want
The light colour primer will act as the perfect base with your paints. Given their runny consistency, they’ll create shadows in the recesses and highlights on the edges. The white primer is key here, if you primed black, then your miniature will look like a colourless blob.
So why is this “bad”? I wouldn’t say it’s bad per se. If you want to get 100 figures done quick, then it’s all good. But if you want to become a better painter, I think that contrast paints is the wrong way to go about it.
First of all, it’s not as easy as “slap a layer of paint on, done”. You need to learn how to slap that paint in the first place. If you are too heavy handed, contrast paint will pool heavily on the miniature and it’ll look sloppy.
The other reason I think it’s not as beginner friendly, is because it might keep you a beginner for longer! Speed/contrast paints could be considered “cheat codes”. As such, you might not learn as much by using them exclusively. What do I mean? There are a lot of things that you learn when painting with traditional methods, namely:
- Brush control
- How to thin your paint to the right consistency
- Mix your paint
- Placing highlights/shadows
Which you don’t have to learn when using these paints.
Don’t get me wrong, they are great! I recently incorporated them in my painting arsenal and they’ve sped me up considerably. I just would be cautious in considering them the “be all end all” of miniature painting. They are just another tool, and they should be treated as such.
Beginner Miniature Painting Techniques Conclusions
So there you have it, here are my beginner techniques that will speed up your painting while still getting great results!
We’ve been gone through the following:
- Paint fully built models
- Paint them black
- Use drybrushing
- Use slapchop
- Wash paints are your friend
- Contrast paints are great
Just remember that these are not mutually exclusive! I would strongly encourage you to mix and match as you go. You might find some cool combinations! Don’t forget to let me know how it goes in the comments!
Leave a Reply